Ny’alotha, the Waking City – Strategy Guides on 6 First Bosses
Your way in Ny’alotha is beginning in Uldum and Vale of Eternal Blossoms, place is depended on what of these locations are under N’zoth attack. To get the access to next quarter you need to kill all bosses of a current quarter. Here we’ll consider Wrathion, The Black Prince, Maut, and The Prophet Skitra – these are the first quarter, and three bosses from the second quarter - Dark Inquisitor Xanesh, The Hivemind, Shad’har.
Wrathion, The Black Prince
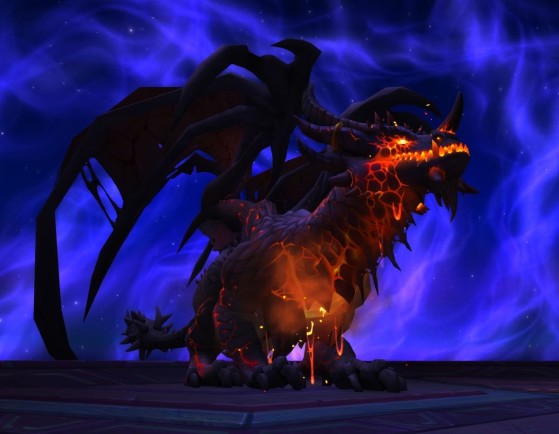
The fight consists of two phases, they interchange until the boss will be defeated. The first phase takes 3 minutes, the second phase takes 1 minute. In the first phase you have one goal, it’s a dragon with classic mechanics (breath and whisk of tail). When the second phase begins, Wrathion flies up, and your raid have to destroy Crackling Shards, you need tank only in heroic difficulty mode.
Phase One
You shouldn’t stay straight in front of his neb and under his tail, don’t get into his breath and whisk. You should to stay alongside of Wrathion and keep out of Searing Breath and Tail Swipe.
If Gale Blast was applied, you need to run away from the boss and to keep a distance of 5 metres until meteorites will come down. If you get Incineration, just move away from your allies and wait while it expires. When the boss casts Burning Cataclysm you need to find the save spot near the edge of the room. Burning Cataclysm is the main power of this phase, Wrathion uses it twice and then he passes into the second phase. It’s recommended to use Heroism, Bloodlust and Time Warp in the first phase at the beginning of the fight.
Phase Two
Second phase starts after the second Burning Cataclysm. First of all, you need to appoint some mobile players who will take up Scales of Wrathion and destroy Crackling Shards by running through them, players get big damage after destroying Crackling Shards. There are also Ashwalker Assassins, only on heroic difficulty mode. They are invisible because of Smoke Shroud. You should to apply AOE abilities such as Ring of Piece to bring Ashwalker Assassins out of stealth.
After defeating of Wrathion you can get following loot:
Faralos, Empire’s Dream
Emberscale Gloves
Humming Black Dragonscale
Destroyer’s Shadowblade
Mish’un, Blade of Tyrants
Ebony Scaled Gauntlets
Dragonbone Vambraces
Onyx-Imbued Breeches
Maut
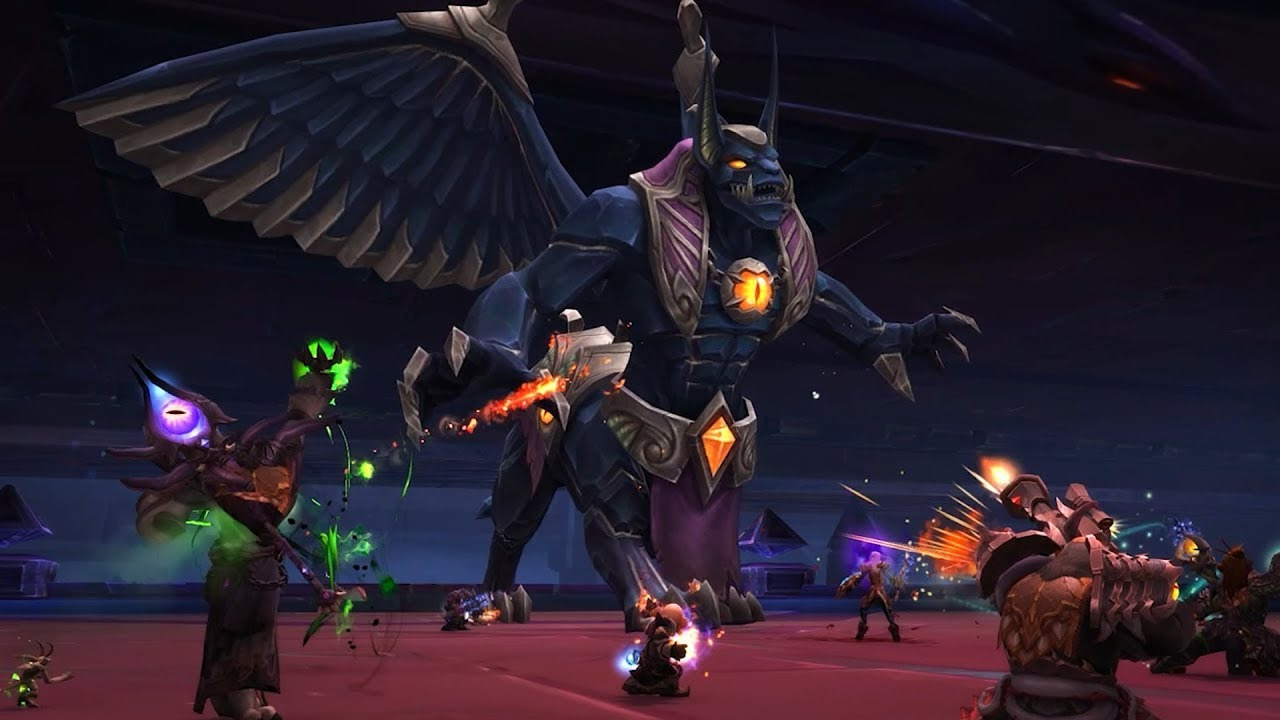
The fight consists of also two phases, their duration depends on raid’s actions. On the average, phase one takes about 2 minutes, phase two takes about one minute. The phase one is ended when Maut gains 100% mana. Players need to correctly deal with mechanics, otherwise your mistakes will let him to gain mana and some bonuses. Phase two is ended when mana shield was dissolved, if your raid cannot damage through the shield within 80 seconds, Maut kills all players.
Phase One
Here you have a fight with Maut and another monster Dark Manifestation who appears from the same named Zone, that drags players, you should try to be not trapped into it. Stygian Annihilation deals a lethal burst of shadow damage to whole raid, you need to hide from it inside Devoured Abyss. Also you can put into Devoured Abyss Dark Manifestation when it casts Dark Offering, it’s the only one way to interrupt its cast. All Devoured Abyss detonate at the end of phase one and make shattering damage if players are inside it at this moment. Your goal in this phase is to damage Maut as much as possible and don’t let him to gain mana.
Phase Two
Phase two starts when Maut gains 100% mana, he moves to the middle of the room, becomes inactive with his abilities from the phase one. The boss is protected by his strong mana shield, and when players damage this shield, phase two is ended. If your raid cannot break through the shield within 80 second, Maut kills everybody in the raid. You need to stay near the boss, so healers can use AOE abilities. Mobile players can intercept orbs during Forbidden Ritual, otherwise they will reach Maut and grant him 15% of his maximum mana. Straight after a player soaks an orb he must return to the raid and apply to allies Forbidden Mana. Increase of Maut’s mana on 15% can lead to Obsidian Skin, he repels all damage, therefore healers need fast to refill the health of allies. Maut applies Drain Essence only on Heroic difficulty mode. You should to use Heroism, Bloodlust and Time Warp during phase two, because it has very difficult and dangerous mechanics.
After defeating of Maut you can get following loot:
Sk’shuul Vaz
An’zig Vra
Sigil of Warding
Greaves of Forbidden Magics
Pauldrons of Ill Portent
Living Obsidian Legguards
Mana Unfused Sash
Forbidden Obsidian Claw
Stygian Guise
Boots of Manifest Shadow
Also you can get the battle pet Muar.
The Prophet Skitra
The fight with Skitra consists also of two phases, they changes until the boss will be killed. On phase one you have to fight with Skitra and his adds, main goal of your raid is to choose right position. Then is phase two where the raid is divided in two groups, you need to talk to one another to find out Skitra from his multiple illusion clones. When you find illusion that is actually the boss, kill him.
Phase One
This phase is ended when health rate of Skitra goes down to 80%. Then phase one will repeat with 60%, 40% and 20%. All players should stay alongside of the boss. Tanks need to change over one another in the period of Shadow Shock. Skitra casts Images of Absolution and his adds begin to move to the opposite side of the room, then this crowd turns and moves back. They are immune to all damage within 30 seconds, after these 30 seconds you can kill them. If you will stand too close to adds, you will die. You need to control them, to prevent their walk and to go into formed space, when they will be attackable, you can kill them via any small amount of damage. Dark Ritual, that Skitra casts during phase two, increases raid damage by every repeating of phase one, so your raid need to complete phase two as soon as possible. Heroism, Bloodlust and Time Warp are recommended to use in one of first phases, mostly during last repeating of phase one, when boss will have 20%-0%.
Phase Two
During phase two raid is divided in two groups in different spaces, these are Twisted Mind and Clouded Mind. Each group can see 4 different illusions of the Prophet Skitra, they appear around the edges of the room and cast Illusionary Bolt, that inflict Shadow damage to all raid every 2 seconds. Both groups need to find real Skitra, all raid will see him at one place. If you kill wrong illusion, all raid gets large damage from Mindquake. You need to kill the boss as soon as possible, because there are also Dark Ritual stacks that inflict you more damage in every repeating of the phase.
There is a list of loot that can drop from the Prophet Skitra:
Whispering Eldritch Bow
Encrypted Ny’alothan Text
Boots of Hallucinatory Reality
Talons of Grim Revelations
Bracers of Dark Prophecy
Macabre Ritual Pants
Robes of Unreality
Writhing Spaulders of Madness
Psyche Shredder
Bloodstained Ritual Athame
Psychic’s Subtle Slippers
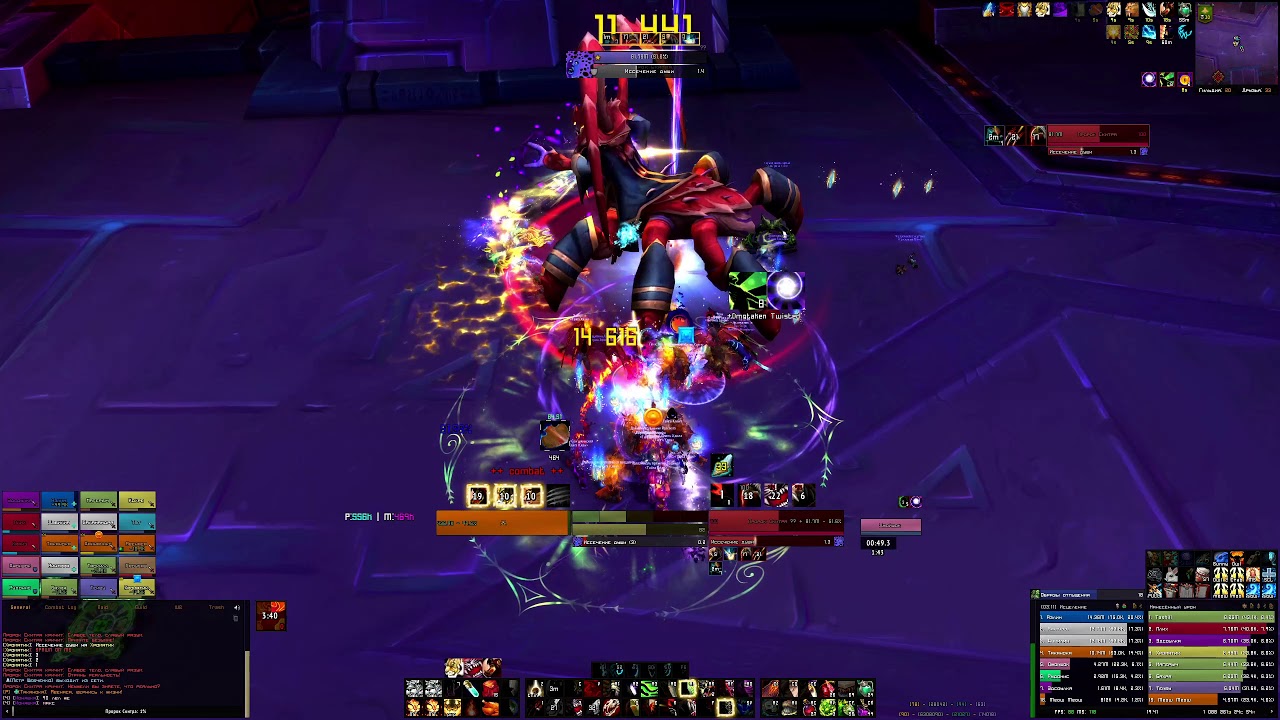
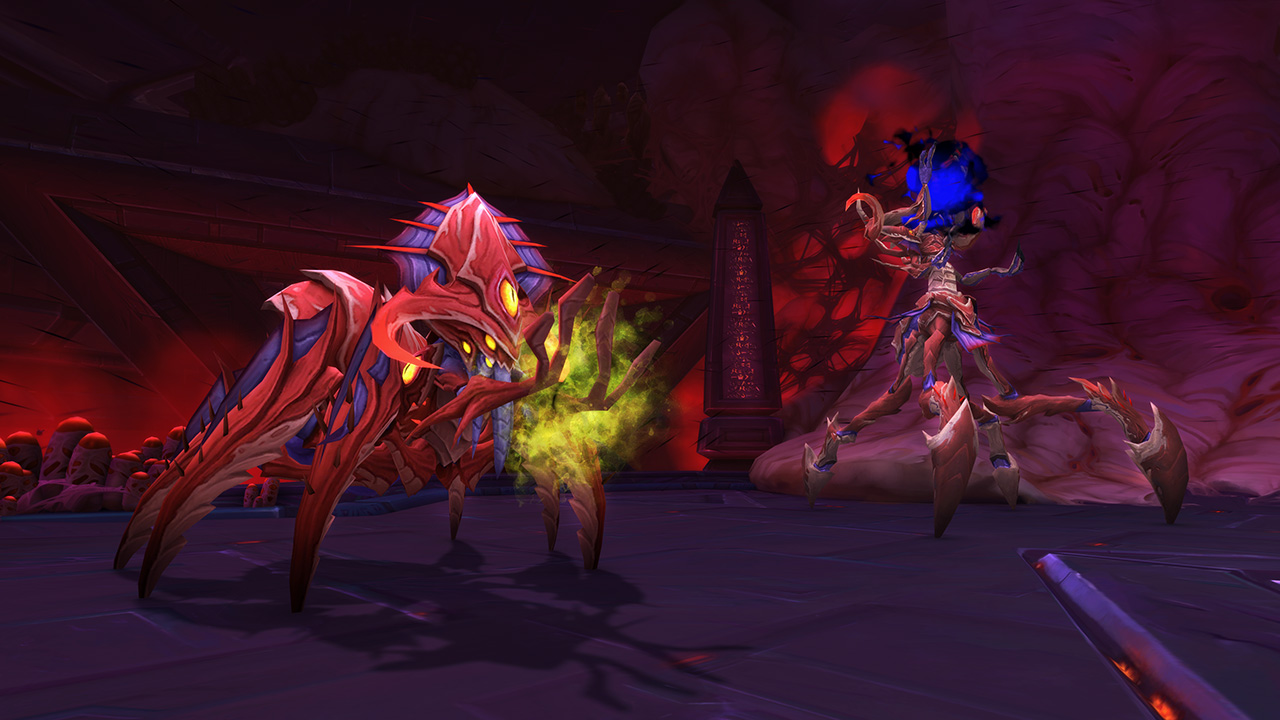
Dark Inquisitor Xanesh
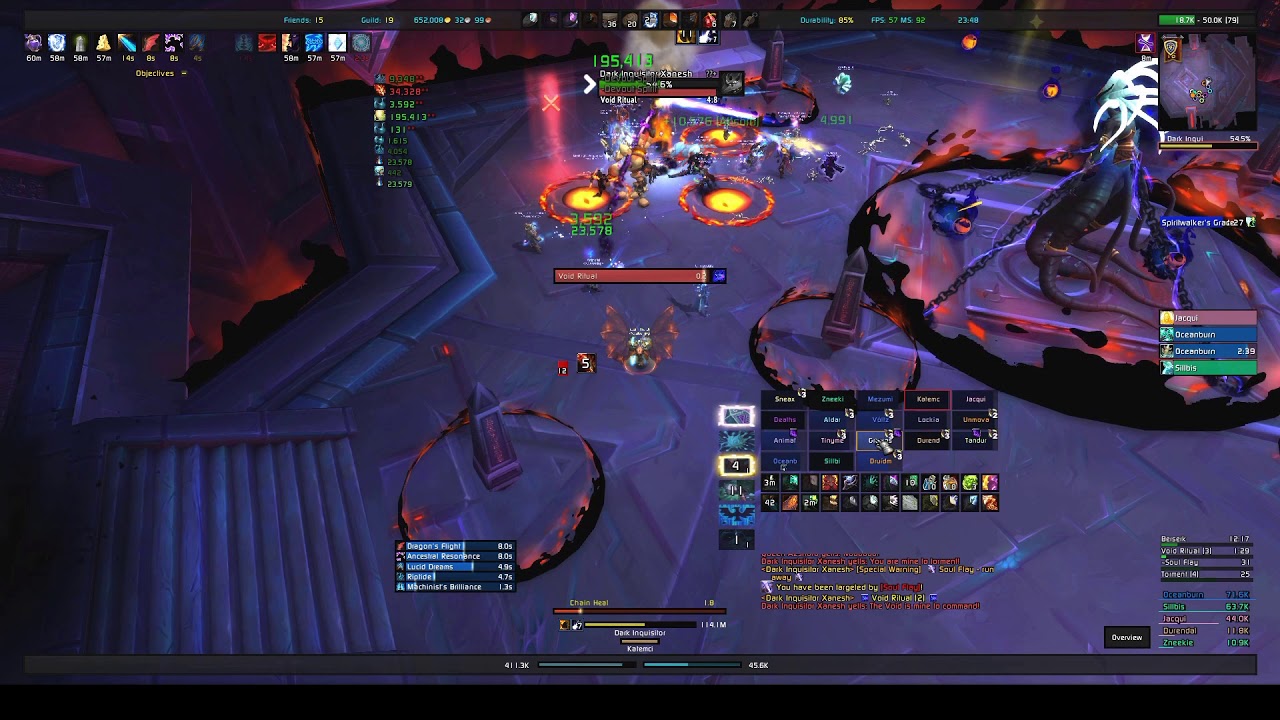
The fight with Xanesh consists of one phase, with primary mechanics of the boss. Except Xanesh you contend with the Void Orb that need to bounce into a goal avoiding any obstacles. Queen Azshara stands in the middle of the room and deals low damage to a raid via Anguish. Also she casts Torment periodically, during this spell several shadow areas appear in the room. You need to avoid these zones, otherwise you can die.
Tactics on Xanesh consists of two parts, first part regards her abilities, second part is Void Orb. The boss marks several players with Soul Flay, it creates a shadow version of your character, you need to run away from your soul as far as possible to minimize burst damage.
Dark Inquisitor spawns 3 zones around her, if at least one player will not stand in one zone, it brings your raid large damage through a burst. It’s recommended for one Orb three players to bounce it. Voidwoken players who are removing the Orb, must bounce it to the Portal with red outline, it must not touch walls, Azshara and any Obelisks. When you contact with the Orb you get Imminent Doom, effect last 12 seconds, therefore several players will need to interact with the Orb. Voidwoken player’s damage is reduced at 99% that allows them to interact with the Orb safely within 40 seconds.
There are loot, which you can get from Dark Inquisitor Xanesh:
Vorzz Yoq’al
Cord of Anguished Cries
Chainlink Belt of Ill Omens
Uhnish Vwah
Gauntlets of Foul Inquisition
Torment in a Jar
Trousers of Peculiar Potency
Binding of Dark Heresies
The Hivemind
There are two bosses in the fight, Tek’ris and Ka’zir. You need to kill bosses within the maximum 10 seconds of each other. Boss changes every 70 second and tactics is changed also with boss. Whilst Tek’ris has Hivemind control, bosses must stand near each other, when Ka’zir takes Hivemind control tank needs to take them apart at minimum 20 m. There is no need to take turns tanks, each tank takes one boss and keeps him until the end of the fight. When Tek’ris is active, tank should face the boss away from the raid and move from the Nullificaton Blast. All players should stay at one place together and run away only before Echoing Void and Spawn Acidic Aqir. After Spawn Acidic Aqir you need to avoid aqirs that roll across the room.
Aqir Drones and Aqir Darters appear in timer within the period of fight, no matter what boss takes Hivemind control, but they give aqirs different casts. They get Void Infusion from Tek’ris and Regeneration from Ka’zir’s activity. When Ka’zir takes control he applies Volatile Eruption, Tek’ris casts Accelerated Evolution on the period of his activity. There are some abilities, which are applied by the bosses within the all fight. Ka’zir casts Mind-Numbing Nova and Spawn Acidic Aqir, Tek’ris casts Nullificaton Blast and Echoing Void. Ka’zir tries to strengthen one of Aqirs between times, you need to kill this aqir before the boss will cast Volatile Eruption. Raid gets damage from Devouring Frenzy within 12 seconds after every turning of boss on heroic difficulty mode only. This ability will increase after every turn of bosses. You need to kill Aqir Darters as fast as possible, they cast Psionic Resonance that is not to interrupt by usual way. Aqir Drones can me controlled in anyway. Also you need to interrupt every Ka’zir’s Mind-Numbing Nova.
You should apply Heroism, Bloodlust and Time Warp at the beginning of the fight whilst all players in the raid are alive.
You have a chance to get battle pets from the Hivemind fight, these are Aqir Hivespawn and Ra’kim.
Also you can get loot listed below:
Qwor N’lyeth
Chitinspine Gloves
Ring of Collective Consciousness
Void-Drenched Wristwraps
Dark Crystalline Girdle
Nightmarish Chain Shackles
The All-Seeing Eye
Shad’har the Insatiable
The fight with Shad’har consists of three phases. You have only one goal, there is one additional goal, but you don’t need to damage and tank it. Phases are changed on 66% and 33% of the boss health. The boss has some specific abilities on every phase and also abilities that he casts during the all fight. Your raid need to get the boss large damage and also you need large healing to defeat him.
The goal of tanks is to keep the boss away from water that is around the room, it’s better to keep him in the middle of the room otherwise he gets strengthening. Tanks should swap with one another because of Bubbling Overflow and Dissolve.
Phase One
All players should not also stand in the water. If a player stands in the water he gets large damage. If you get Living Miasma you need to run away from allies as far as possible and to take the hit by themselves, because the burst deals a large amount of damage. You should not kill them because they have a large amount of health. Also players need to avoid the breath of Shad’har, just stand behind his back, so his Umbral Breath cannot damage you. Sidestepping, if Umbral Eruption appears under your feet. There is Umbral Mantle that damage all players, you cannot avoid it in contrast with Umbral Breath.
Phase Two
You need to do the same like in phase one, except Umbral Eruption. When the Entropic Buildup appears in the encounter space, you need to run up to the orb and to stand near it within several seconds. Entropic Mantle deals more damage to raid than Umbral Mantle, therefore players need more heal.
Phase Three
There are also the same actions except Entropic Buildup. You need to watch Bubbling Overflow zones closely and don’t stand in these. You should use your personal cooldowns to ease healer’s life. Tanks should keep Shad’har away from the Bubbling Overflow, that will take all free space in the room. Therefore raid must kill the boss before it will happen. During this phase raid gets large damage from Noxious Mantle and Frenzy.
Heroism, Bloodlust and Time Warp should be applied at last minute of the fight. Killing Shad’har the Insatiable gives you an opportunity to get following loot:
Warmace of Waking Nightmares
Insidious Writhing Longbow
Void-Etched Band
Ego-Annihilating Grips
Bracers of Phantom Pains
Grips of Occult Reminiscence
Wristwraps of Volatile Power