Ny’alotha, the Waking City – Strategy Guides for 6 Last Bosses
Your way in Ny’alotha is beginning in Uldum and Vale of Eternal Blossoms, place is depended on what of these locations are under N’zoth attack. Here we’ll consider last six bosses, that go after Wrathion, Maut, and Skitra from the first quarter, and three bosses from the second quarter - Xanesh, The Hivemind and Shad’har. These are Ra-den, Vexiona, Drest’agath, Il’gynoth, Carapace of N’zoth and N’zoth.
Ra-den the Despoiled
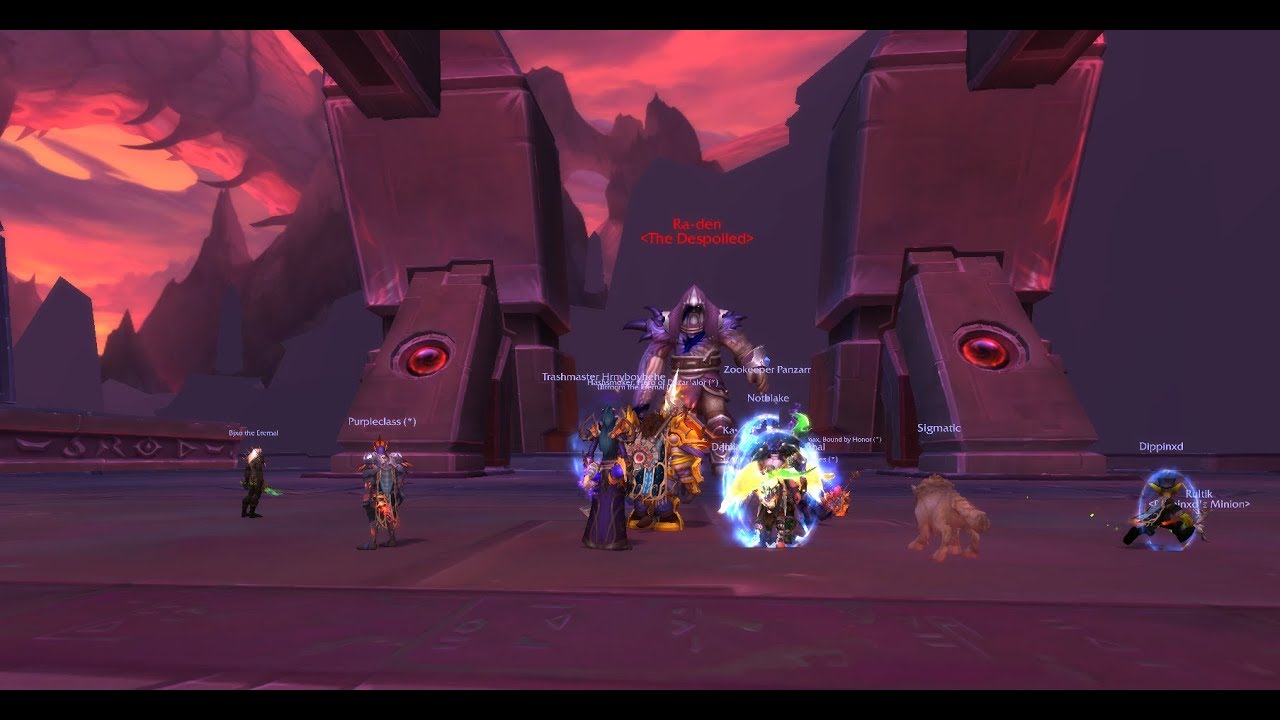
The fight with Ra-den consists of two phases. First phase presents as 2 repeating stages. Phase two begins when health of the boss drops to 40%.
Phase One
During this phase the boss alternates between Vita Empowered and Void Empowered. On the both sides of the boss there are portals, from which will appear two orbs in a few seconds after beginning the fight and every 60 seconds during the phase. These are Essence of Vita and Essence of Void, they move towards Ra-den and you cannot stop them. One of them must be destroyed each time they appear, but second orb becomes invulnerable to any damage. It means the boss gets one of these buffs anyway. When an orb touches the boss, he gets the power of corresponding orb during 40 seconds. Ra-den can get power from both orb, but you need to avoid this situation. If he gets the same power twice, he casts Overwhelming Rage, that can kill all raid. So you should to destroy the orbs by turns. You can get Instability Exposure from Unstable Vita or Unstable Void, it increases damage by 300% for 30 seconds. Nullifying Strike is used by Ra-den every time when he reaches 100 energy independently of active buff. Tanks should taunt off of one another after each Nullifying Strike. All allies can stay at one place during the whole phase one.
Phase Two
This phase starts when Ra-den’s health drop until 40%. Decaying Strike will be instead of Nullifying Strike. Damage from the boss is buffed by Lingering Energies, together with Ruin it can kill raid, so your main goal here is to kill the boss as fast as possible. You need to stay together with your allies in one place and to run away only in case of Void Eruption. Also tanks need to alternate of one another after each Decaying Strike, health of tank must be low before this Strike to minimize the damage from Decaying Wound. When raid is afflicted by Charged Bonds, players need to move away from one another and to break chains as fast as possible. You should to apply Heroism, Bloodlust and Time Warp together with cooldowns on the last minute of the fight.
Here is a list of loot that can drop from Ra-den:
Unguent Caress
Void-Twisted Titanshard
Vita-Charged Titanshard
Encrypted Ny’alothan Text
Robe of the Fallen Keeper
Reality-Defying Greaves
Boots of Wrought Shadow
Dreamer’s Unblinking Pauldrons
Gibbering Maw
Carapace of Pulsing Vita
Shandai, Watcher of Cosmos
Vexiona
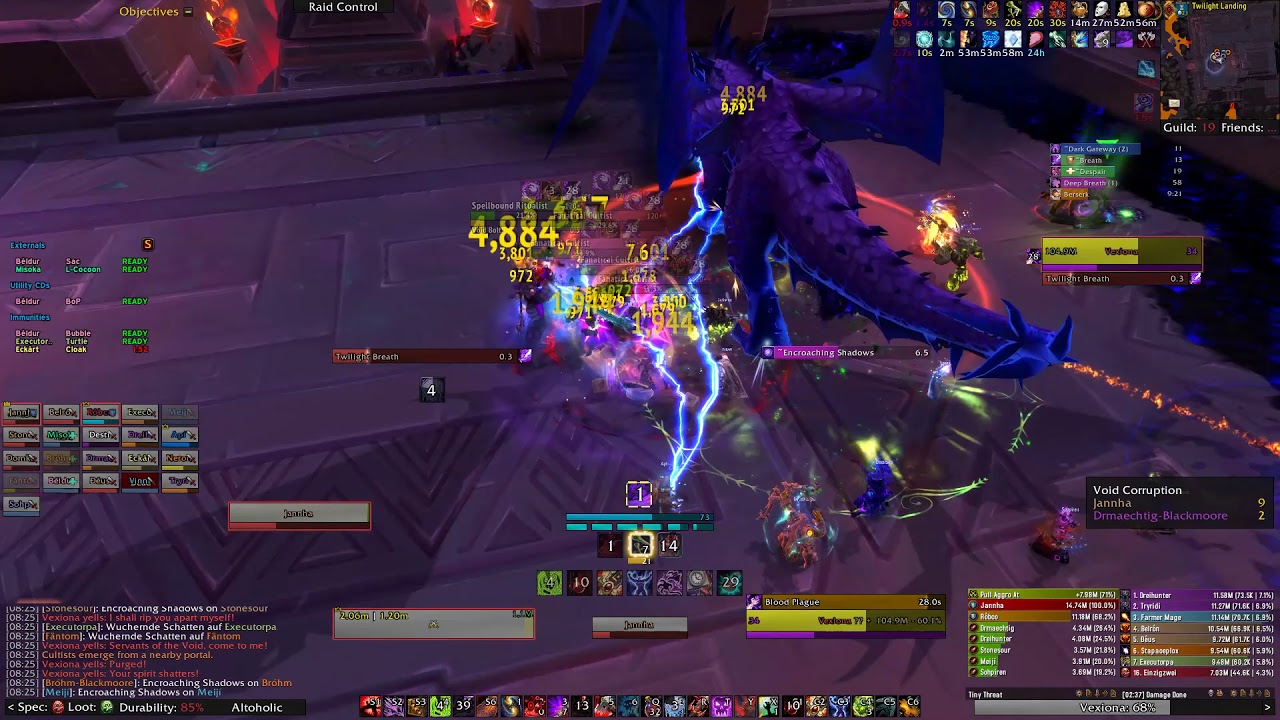
The fight with Vexiona consists of three phases. Phase one and Phase two are similar, they interchange of one another until health of the boss drops to 40%. During these phases you need to fight not only with Vexiona but also with her adds. Only one that you need in phase three is to kill Vexiona as fast as possible, there are no adds during this phase.
Phase One
This phase is last until Vexiona gets 100% energy, after this phase two begins and last about one minute, and they alternates each other until Vexiona’s health drops to 40%. Main debuff for tanks is Void Corruption, to reset it tanks need to pick up orbs of pure Void energy, that give Gift of the Void. All allies who face to Vexiona hit by Twilight Breath and also get Void Corruption. When you pick up an orb, you get the Gift of the Void, that you can use one time only, and it provides by Annihilation and resets all Void Corruption stacks from a player. Also you need to run away from your allies and to keep the distance in 10 m., if you get Encroaching Shadows. All raid except tanks should stay behind the back of Vexiona, it helps to avoid additional aim for the boss. You can place adds near to Vexiona to kill them as fast as possible.
Phase Two
During this phase Vexiona flies up and casts Twilight Decimator three times within 60 seconds and then she lands. After that phase one begins again. Vexiona unleashes Twilight Decimator down in one of three places of the room. You cannot attack or tank Vexiona during this phase, so your main goal here is to kill her adds. And in the same time she continues to cast Encroaching Shadows.
Phase Three
Phase Three begins when Vexiona’s health drop to 40%. There are not her adds, only the boss – during this phase all allies of the raid can get Void Corruption, and there is no possibility to reset it, so your main goal, that you should kill as fast as possible. Tanks can pick the orb from previous phase and use it near the end of the fight to ease healers work. All players have to stay in one place because of Terrifying Presence. Also this way is good in heroic difficulty mode where there is Desolation. Every time when Vexiona casts Heart of Darkness all player should to run away from her, but not far from allies, otherwise you can get Terrifying Presence debuff. You cannot get through Encroaching Shadows as in phases one and two, because of this mechanics, you need to stay close with your allies and you can run away only to spread this effect and turn back. It’s much better to use Heroism, Bloodlust and Time Warp in this phase because of its extra difficulty.
Here is a list of loot that you can get from Vexiona:
Darkheart Robe
Encrypted Ny’alothan Text
Gift of the Void
Greaves of the Twilight Drake
Helm of Deep Despair
Breastplate of Twilight Decimation
Void Ascendant’s Mantle
Drest’agath
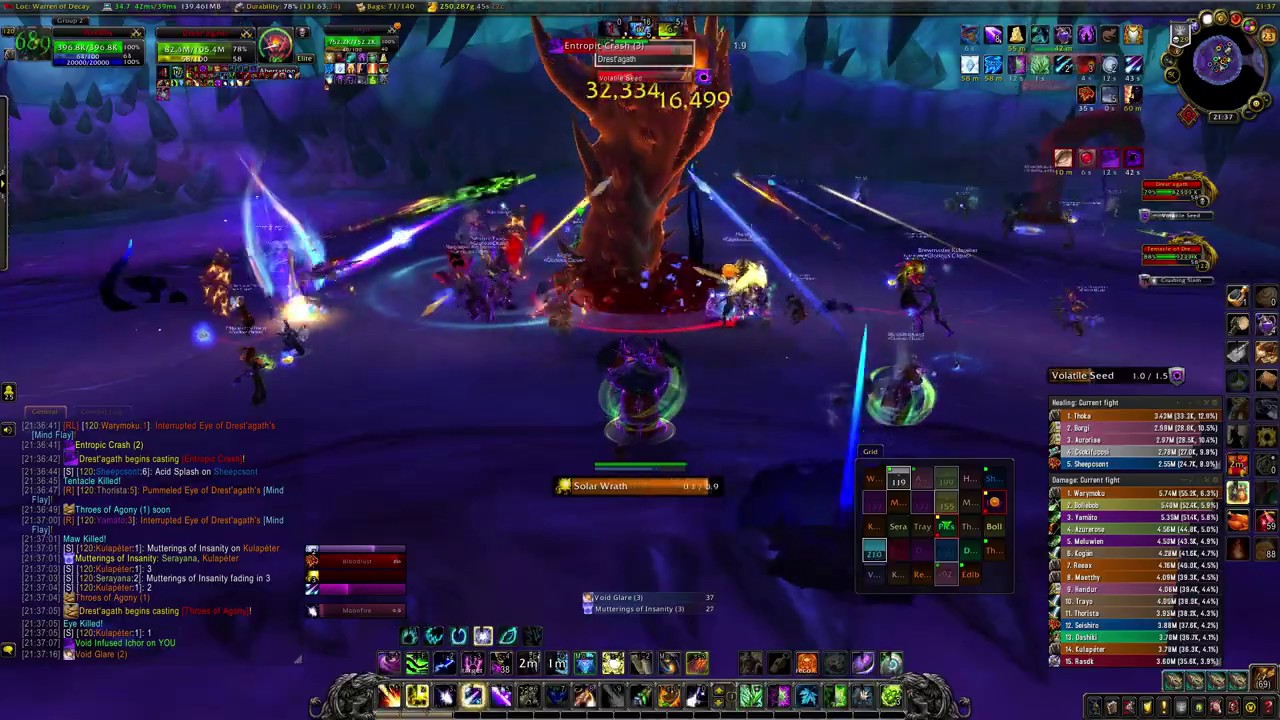
Fight with Drest’agath consists of one phase only during that your raid has to defeat not only Drest’agath but also her appendages of different types. The boss stays in the middle of the room, tank should be always near her. Drest’agath has different abilities, his adds copy some of his powers. You need be careful and to avoid Void Glare, Crushing Slam, Reality Tear, Falling Gore and Spine Eruption. Run away from the boss and his tentacles during whilst Entropic Crash. If you get Mutterings of Insanity debuff, you should to run away at 12 metres from your allies. If you get Void Infused Ichor, you should hit the boss whilst this debuff last, in this case she cannot heal damage. You cannot pick up new orb within one minute in heroic difficulty mode, so players need to alternate each other with that debuff. Because tentacles don’t need to tank, one of tanks always must be with the boss, they need to alternate after each Volatile Seed. When a tank get it, he/she must run to Drest’agath’s tentacles, so they get Volatile Corruption debuff. When Drest;agath gain 100 of agony, she begins to cast Throes of Agony, in this case all participants of raid get damage every 2 sec. for 10 sec.
Every adds of the boss copies one of her abilities.
Drest’agath’s tentacle uses Entropic Crash, that damages all raid, so you need to run away as far as possible when Drest’agaht or her tentacles casts it.
Eye of Drest’agath uses Void Glare, by this ability the boss charges up a beam to random player in 3 seconds after she chose her target and it lasts 4 seconds.
Maw of Drest’agath copies Mutterings of Insanity, during this debuff all players must keep the distance between each other. When boss or her add casts Unleashed Insanity you should run away from your allies at 12 m. Also Drest;agath can damage by Crushing Slam with her tentacles, but you can deviate from this easy. Another ability of Drest’agath’s Maw is Acid Splash, it brings damage to players that close to each other, therefore you should keep the distance at least 4 m. You should to apply Heroism, Bloodlust and Time Warp at the beginning of the fight.
After killing of Drest’agath you can get following loot:
Mar’kowa, the Mindpiercer
Ichorspine Loop
Writhing Segment of Drest’agath
Gloves of Abyssal Authority
Belt of Muttering Truths
Spinebarb Legplates
Halsheth, Slumberer’s Spear
Il’gynoth, Corruption Reborn
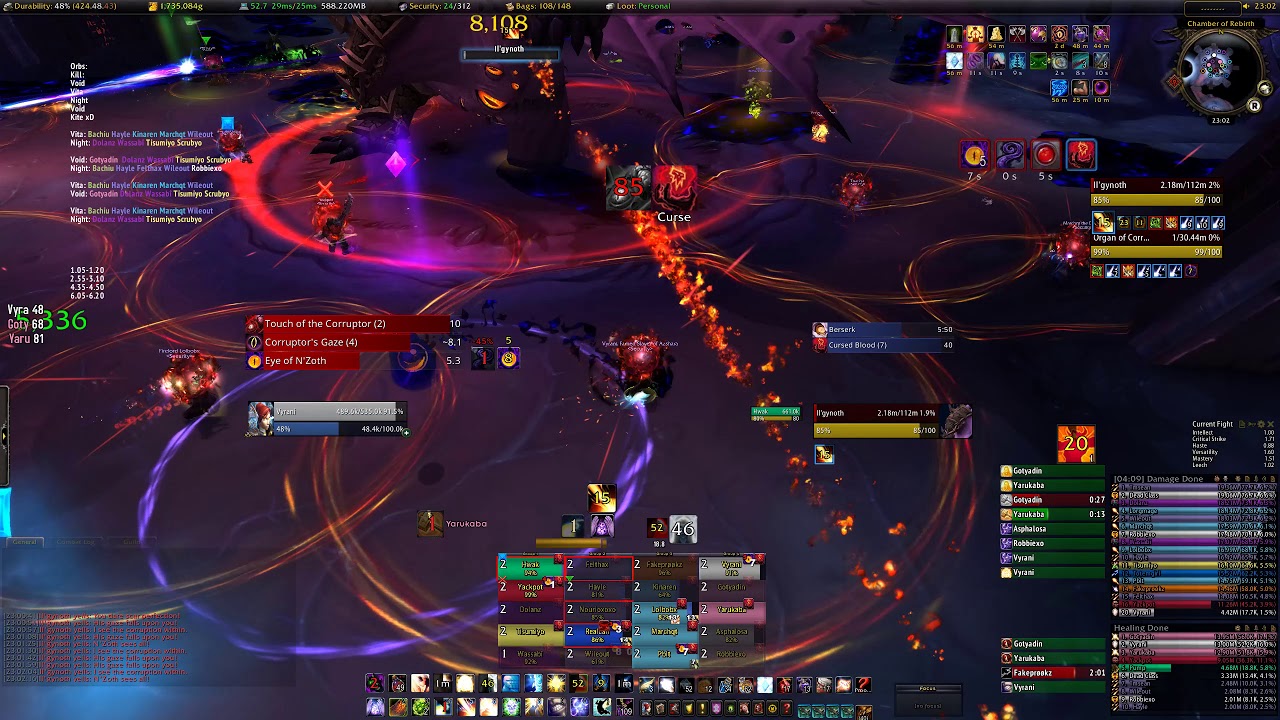
The fight with this boss consists of two phases that alternates each other. Phase two begins, when Il’gynoth’s health drops to 1, here you have to destroy Organs of Corruption, raid can destroy only one organ during every repeating phase two. Phases will turn each other until your raid destroy 3 organs.
Phase One
Here you fight with Il’gynoth only until his health will be 1 unit. Main ability of the boss is Corruptor’s Gaze, if you get this debuff, you need to lead the beam where there are not allies, better when was destroyed one of organs. Tanks should turn the boss back to raid. If you get Corruptor’s Gaze, just run away as far as possible from your raid. After destroying of the first organ, phase one begins again where the boss summons his adds. You need to move in a such way, that his adds cannot bring you melee damage you.
Phase Two
This phase begins when health of the boss drops to 1, and Organs of Corruption appear in the room. You should to divide raid into three groups, one of them need to destroy one of organs, other two needs to break Pumping Blood of other organs. Organs don’t need to tank, so and tanks and healers can participate in Pumping Blood breaking. If an organ casts Pumping Blood interruptible with success, spawn appears, that strives for random player. In this case you need to kill the add as soon as possible, but be careful with health of allies, because when killing the add damages the whole raid with Hemorrhage. So you cannot kill many of this adds, otherwise raid will die. Therefore your main goal is to interrupt Pumping Blood casting of organs and to kill as fast as possible one of them. Another effect of this phase is Cursed Blood. During whole phase several players will be afflicted with this debuff, these players should run away at 11 m. from others because it brings large burst of shadow damage to not only afflicted player but also to allies who are near him/her. After killing one of organs, phase one repeats, but there are little changes. Destroyed organ spawns adds sometimes, that you need to kill as fast as possible.
You can get from Il’gynoth loot listed below:
Eyestalk of Il’gynoth
Encrypted Ny’alothan Text
Belt of Braided Vessels
Spaulders of Aberrant Allure
Cuffs of Grim Conjuration
Oozing Coagulum
Scales of the Shaming Behemoth
Second Sight Helm
Sabatons of Malevolent Intent
Cowl of Unspeakable Horrors
Precipice of Oblivion
Bracers of Manifest Apathy
Carapace of N’Zoth

The fight with Carapace consists of 3 phases. Mechanics is similar to Horrific Visions, when Sanity of a player drops to 0, he/she loses control under his/her character. You have an access to ability that helps you to lose your Sanity on two first phases. But this ability can be available only for players who have Legendary Cloak. During the phase one you need to kill adds of the boss, on the phase two you need to move with Wrathion to the carapace. During the phase three only, that you need is to kill the boss as fast as possible until Sanity drops to 0. Please, keep in mind, that tanks should alternate each other after every Black Scar debuff.
Phase One
During this phase your main goal is to kill adds of Carapace, you need to kill his tentacles as fast as possible, don’t let them to damage the raid. Tanks should to keep the boss near his adds, it eases work for damagers. If you get madness bomb, you need to run away from your allies to not damage them. Main difficulty here is loosing of Insanity, that you can regain by Wrathion. If your Insanity reached 0, you get Gift of N’zoth, this debuff increases your damage and healing to 100% for 20 seconds, after this you become Servant of N’zoth. In this case, when players becomes a Servant of N’zoth, allies must kill this player as soon as possible.
Phase Two
Phase two begins when health of the boss drops to 50%. Players should follow Wrathion who clears the path into the Carapace of N’zoth. You need to destroy Synthesis Growth enemies that line the walls, because they heal the boss every 2 seconds, so the Fury on N’zoth in the middle of the room is immune to all damage, until you kill all Synthesis Growths. When the boss becomes attackable, he uses the same abilities which were in phase one. You can keep the same tactics as in previous phase, stand near the boss and deviate of Occipital Blast, you need to hit him until 40% of his health. Wrathion will be unavailable on phase three, so you need to regain your Sanity before beginning of new phase.
Phase Three
Because Wrathion is not available during this phase, you need to kill the boss as soon as possible avoiding his abilities. Here Insanity Bomb is instead of Madness Bomb, this version of bomb damages all allies, you also need to keep the distance in case of getting the bomb debuff. To regain a bit of Sanity during this phase, you need to kill adds under Adaptive Membrane, after killing at their place orbs will appear that you need to pick up to gain your Sanity. Tentacles attack players in the entire room and kill immediately any player, who will be in their damage area, so you need to be careful and it would be better to reserve abilities of speeding up for this phase.
After completing the fight, you have a chance to get following loot:
Shard of the Black Empire
Shgla’yos, Astral Malignity
Tortured Fleshbeast Cuirass
Mirage-Weaver’s Gauntlets
Lurker’s Piercing Gaze
Pauldrons of Infinite Darkness
Corpuscular Leather Greaves
Helm of Actualized Visions
Spaulders of Miasmic Mycelia
Watcher’s Scheming Girdle
Corporeal Supplicant’s Trousers
N’zoth, the Corruptor

The fight with N’zoth consists of 3 phases and has the same mechanics concerning Sanity, it means you also need to avoid your Sanity till 0. Phase one is going In N’zoth mind realm. Phase two begins when your raid kills Psychus and returns to N’zoth, there are two portals, where phase one repeats. Phase three joins mechanics from both previous phases.
Phase One
During phase one raid needs to kill Psychus and Exposed Synapses in mind realm of N’zoth. You need to stand as far as possible from the middle of the room. Your main goal here is to kill Psychus until he gets maximum of energy, you need to do it in time, otherwise you cannot run next phases. All players should to break beams from tentacles to avoid loosing of Sanity. Tanks should lead Psychus to first tentacle, so damagers can hit both. Move from one tentacle to other until Psychus gain debuff in sufficient scale. After his death you can leave the mind realm and return to main room.
Phase Two
Here you face with N’zoth, who creates another Mindgate, where a half of the raid must again to kill Psychus. After his second death, new mind will open, and another half of the raid must kill Psychus at third time. During this phase N’zoth has many adds, like Basher Tentacles, tank should run to them as fast as possible, otherwise they will damage the raid. Mind realm mechanics for both parts is the same as in phase one, but with little exception. Half raid has to fight with Psychus in mind realm, and at the same time, other part of the raid must fight with N’zoth. Main danger here is combination of Mindgrasp and Corrupted Neurons. From time to time N’zoth also casts Paranoia that binds two random players, they should gather with each other but avoid touch with other players without Paranoia debuff. When both of parts of the raid kills Psychus in Mind realms, phase three begins.
Phase Three
At the beginning of this phase N’zoth summons Thought Harvester add. You need to kill him as soon as possible dividing damage from Harvest Thoughts. When N’zoth applies Evoke Anguish, try to put pools nearer of each other to have more free place in the room. Also you should to deviate Stupefying Glare from eyes spawn of N’zoth. When health of N’zoth drops to 2%, the fight will end.
There is list of loot, which you can get from N’zoth the Corruptor:
Devastation’s Hour
Manifesto of Madness
Encrypted Ny’alothan Text
Lingering Psychic Shell
Last Vestige of Neltharion
Visage of Nightmarish Machination
Pauldrons of the Great Convergence
Dominion, Lurker Beyond Dreams
Greathelm of Phantasmic Reality
Ring of Cosmic Potential
Because of N’zoth is the final boss, you also have a chance to get some collectable rewards:
Eye of Corruption – battle pet
Uncorrupted Voidwing – mount
Ny’alotha Allseer – mount (Mythic mode)
%s the Uncorrupted – title from N’zoth on Mythic mode.